There are many guides and logs out there on how to assemble a computer, and I want to share my experience as well. However, when it comes to this build on the Corsair Crystal 680X RGB I was commissioned for, I find it more important to focus on some of the problems you are likely to encounter when building your own systems. There can be any number of problems and I hope this article helps. Even if just a little.
After much thought, the client settled on the following parts for the tower which are as follows:
- Processor: Intel i9 9900k
- Motherboard: Aorus Z390X Extreme
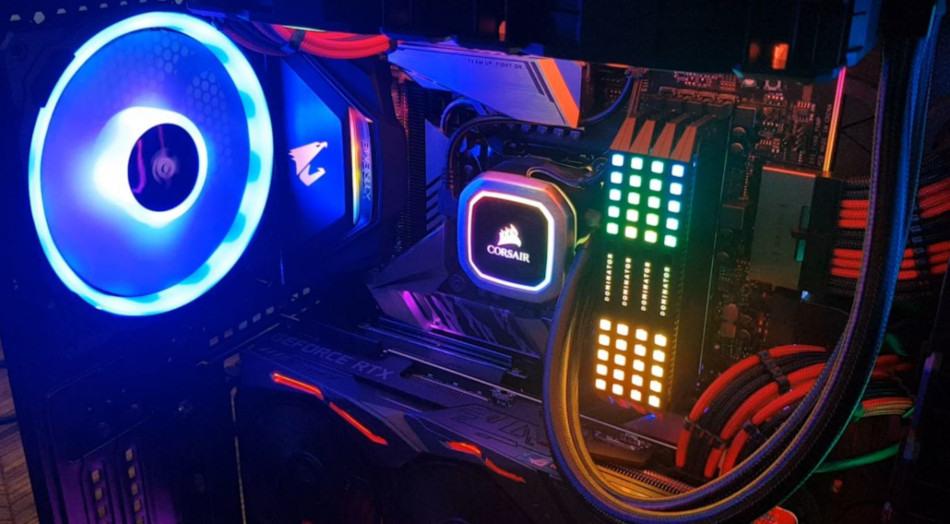
- Memory: 64GB (4×16) Corsair Dominator Platinum RGB
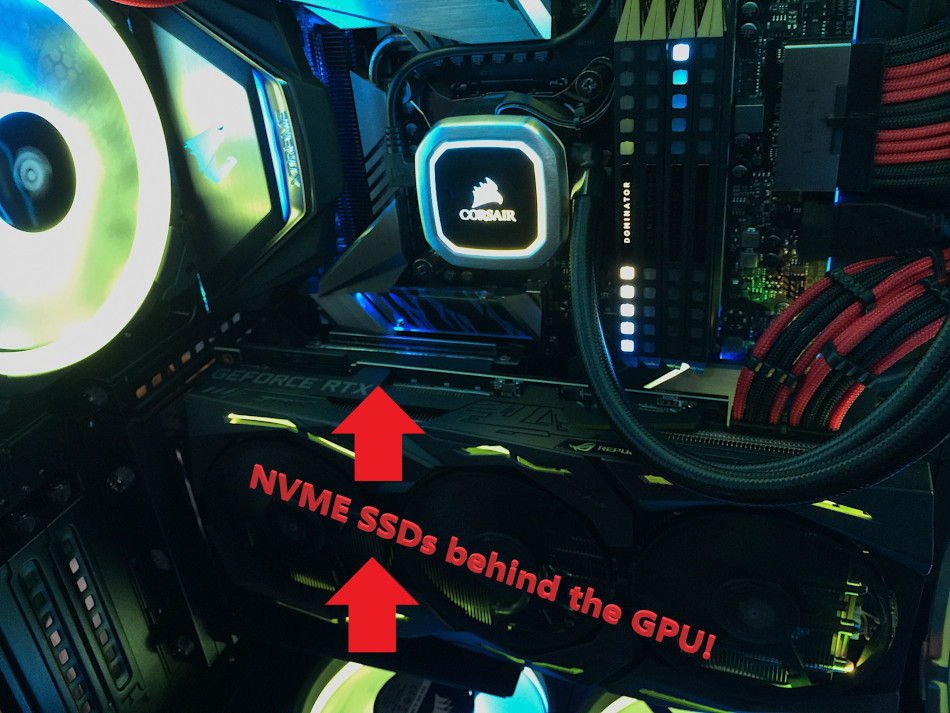
- SSD Storage: 2x WD Black SN750 NVMe 1TB
- HDD Storage: 3x WD Black 6TB
- GPU: ASUS RTX 2080 Ti STRIX
- PSU Seasonic 1000 watt Platinum
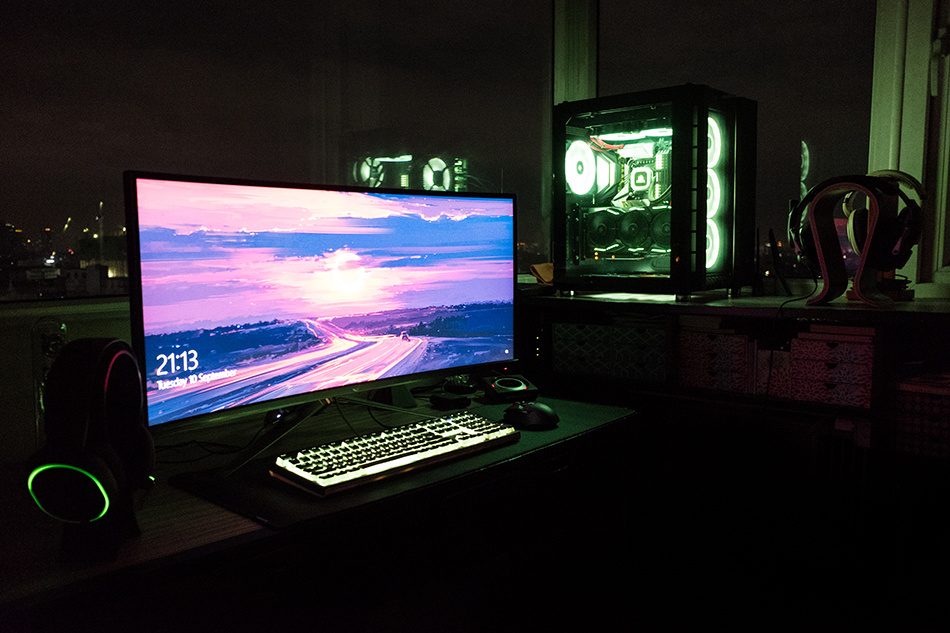
- Case: Corsair Crystal 680X RGB
Before we go into any further detail, I will provide a link to this build’s build gallery where you can find more photos of the completed PC.
Compatibility Issues
The great thing about building a PC yourself is the variety of choices and customization that is available. By mix and matching parts, you can really personalize the look and spec of your particular build.
Manufacturers generally do a great job of making parts conform to a standard as to make them compatible across different makers. However, there is always the off chance that you will face a compatibility issue.
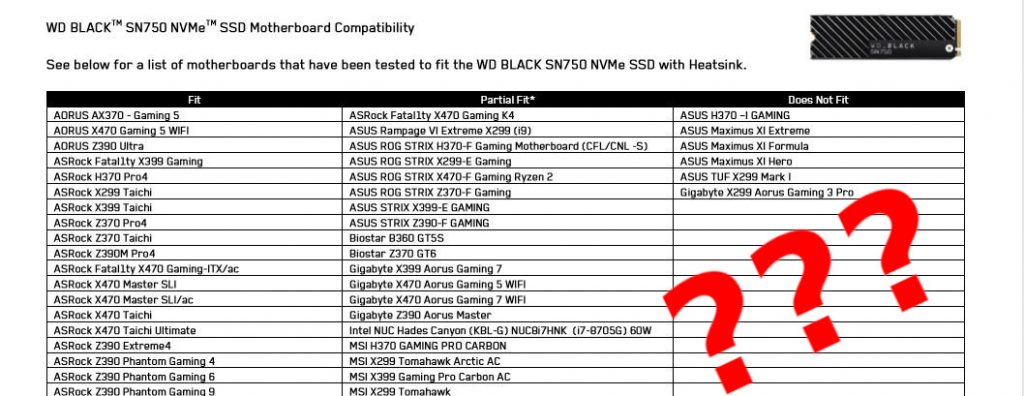
In our case, it was between the CMOS battery holder on the Aorus Z390X Extreme motherboard and WD Black SN750 NVMe SSD heat sink. The WD Black SN750 NVMe had a 3rd party designed heat sink, whose dimensions physically conflicted with the location of the motherboard’s CMOS battery. The NVMe heat sink would bump against the battery holder and prevent it from seating correctly. This worried us greatly as the pins wouldn’t sit right and most likely not operate properly.
Looking at the NVMe’s compatibility list, at the time, the motherboard we were using was not even listed in any of the categories found on the official documentation. The columns labeled Fit, Partial Fit*, or Does Not Fit did not show the motherboard model listed anywhere on the storage chip manufacturer’s confirmed tested documentation.
What does this all mean? Well, despite researching thoroughly, you may still encounter problems with hardware layout and therefore must be ready and willing to handle some modifications. Furthermore exchanging items or getting refunds where you live can be difficult, if not downright impossible, so be prepared to deal with those, too.
To tackle this problem with the CMOS battery holder and NVME heatsink clearance, we took a blade to cut off material off the holder until the NVMe SSD sat properly.
Modifying the CMOS battery holder’s shape to allow clearance of the SSD was the only way we could solve the issue. Doing this is not for the faint of heart and should be avoided when possible, especially if you plan to take advantage of warranty and the RMA process. However these unexpected compatibility issues are a reality with custom PCs, and we were more adamant about pushing through with what we had than deal with lengthy return policies.
Design Critique
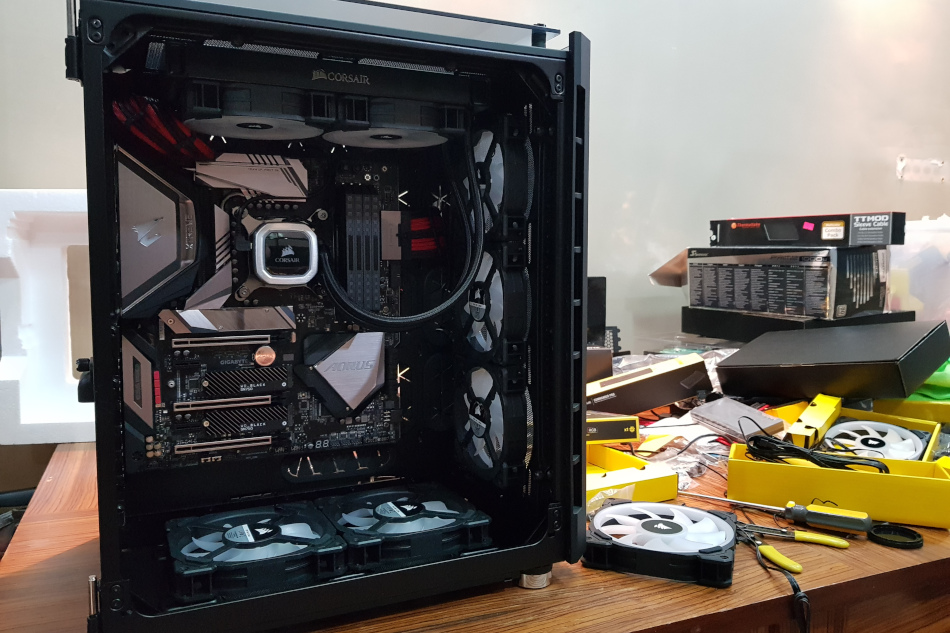
Another issue you may face involves manufacturer decisions that contradict their product’s design language. We encountered this when dealing with the rear compartment of the Corsair Crystal 680X pc case and the lack of cooling provided to the 3.6″ hard drive bays. By manufacturer’s design, The Corsair Crystal 680X has three 3.5″ hard drive bays oriented side by side and a stacked 2.5″ hard drive bays.
However, when we had populated the three 3.5″ drive bays with three WD black 6TB hard drives, the thermal sensors monitoring the hard drives showed the drives reaching temperatures that were dangerously high.
In the end we had to take another trip to the PC parts store to source a fan that we could use to cool down the hard drives. You would think that there would be convenient mounts to secure the fans that provide airflow the hard drives, but this wasn’t the case. Instead, we secured the fan with zip ties to one of the free 2.5″ bays above the set of 3.5″ bays.
Hard disk drives act as your computers mass storage media and should be run within acceptable operating temperatures to preserve data integrity and hardware longevity. Shouldn’t Corsair have pre-built mounting points for fans to provide direct cooling to the hard drives in a situation where a user populates all the drive bays? This was a problem that seems like they could have accounted for in the initial design phase that we found difficult to tackle. In any case installing that fan helped cool the drives immensely.
What this reminds us is that despite a case’s feature list, they may come with caveats that are unexpected which you will need to deal with. So keep this mind, and just be ready if things don’t sit the way you originally planned.
Installing Windows? DO THIS FIRST!
Watch out for this one! This is easy to miss given the right circumstances, and will cause GREAT frustration! We were nearly home free with the build when this happened. Making an OS installation blunder meant that we had to dismantle a good number of parts of the build to install system files in the right places. This could have been avoided if it was done right from the beginning.
Ok, this one I admit I am guilty of complacency. When dealing with software, follow the best practices. Specifically for the fresh install of the Windows 10 operating system.
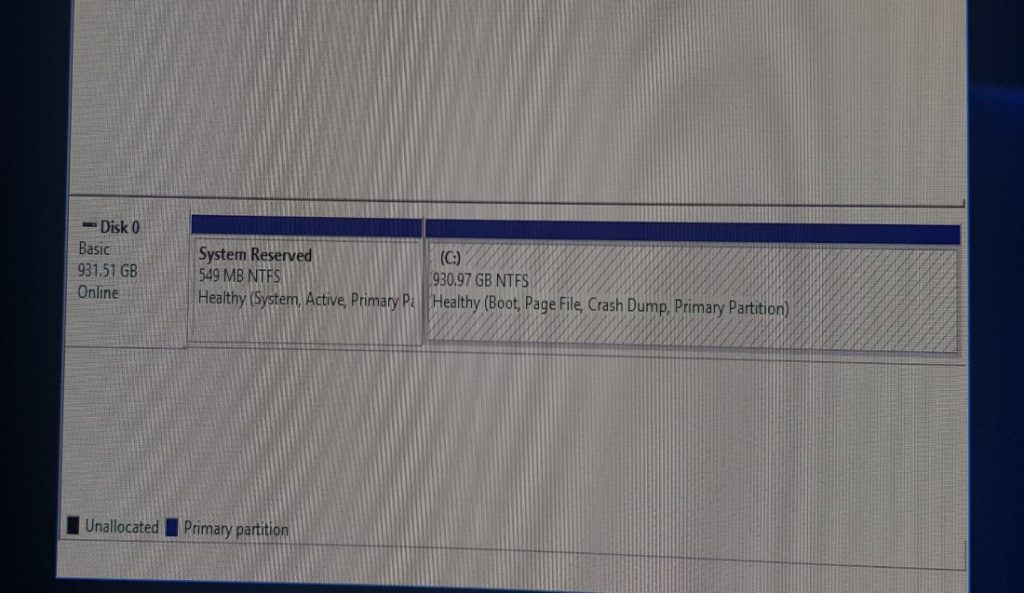
I had forgotten to disconnect all the drives apart from the intended boot drive and many times it was mentioned in the past by other builders to do so. Our build had 5 drives total. All of them were plugged in at the time of the operating system’s installation and windows kept distributing the installation files across different drives. This is a known issue with windows installations when multiple drives are plugged into the motherboard during the operating system’s installation.
Although the PC worked in this configuration, we wanted all OS installation files on a single drive for a clean install, and after much complication we had to strip out the vertically mounted GPU to get to the NVMe solid state drives and reach behind the case to get at the hard disk drives.
This was a really frustrating situation we found ourselves in as it was getting pretty late in the day, having worked since the early morning to try and finish the build as quickly and efficiently as possible, and this roadblock meant we had to redo a lot of the work we already took a while to do.
Despite designating the drive to install the OS on, there is no control over where the installer decides to place additional system partitions required by the OS. So I strongly recommend to disconnect additional drives prior to initiating the process and keeping only the drive you intend the OS to live on be the only drive plugged in temporarily.
To completely avoid this situation I recommend putting the motherboard in a breadboard configuration and install the operating system with just the board, processor, cooler, ram, and a single drive powered in place. Breadboarding is basically temporarily setting up the bare minimum parts for the pc to boot to check for any hardware incompatibilities or defects prior to installing anything into the PC case. During this time the OS can be installed as well.
In case you have multiple instances of Windows OS installed across different drives I recommend that you use the Windows OS installer’s built in drive manager to clean out each drive first and delete all partitions before disconnecting the drives and trying the install process again.
Final Thoughts
This PC build has been a trip back to basics. Although it has been some time since my last paid commission build, and new technologies have become mainstream, the process and considerations has remained unchanged. As discussed earlier, once the performance level of the PC is decided upon, it is important to do your due diligence and check compatibility and while checking for incompatibilities could reduce the chances you will face problems during the build, it would still be wise to prepare for unexpected setbacks.
These setbacks can be undocumented in nature or a design oversight, in which case you will need to be creative with your solutions. Finally read documentations and manuals, and follow best practices to ensure that you won’t have to redo procedures.
– J4
